Friday, January 22, 2021

Puff Hat Addi Express King Size

It took me a week to complete this project because I never had much time on any given day to work on it. If you had a couple of hours available to focus on the project, it would only take one day to finish this.


Designer Claudia Bostic shared her free pattern to make these Puff Hats in the files of the Addi Circular Knitting Machines group on Facebook. This design is a good alternative for making beanies to fit larger size heads.

Since this was my first attempt at making the pattern, it didn't turn out 100% perfectly, but it's not bad for a first try. I attempted to use the kitchener stitch to graft the ends of the large (bottom) tube, based on instructions from Yay for Yarn's tutorial on YouTube. (Grafting the ends of the large tube is an optional technique; you can join the ends of that tube using any method you prefer.)

Thursday, January 14, 2021

Pocket Scarf Addi King

Jojo Juju has a video tutorial for how to make a nice, simple pocket scarf. Her techniques are what I used for this design. The only difference is I knitted my scarf to 410 rows on the Addi King before folding the ends up and stitching the sides to form pockets.

I also sketched out my idea before starting. I thought I was getting about 5 rows per inch with this yarn on the Addi, so I did the math to make my scarf about 64 inches long, plus another 9 inches at each end for the pockets. However, after knitting the tube for the scarf I discovered that the gauge I had was closer to 4 rows per inch, so this turned out longer than I intended. Next time I need to measure my gauge more carefully. 😆


I turned up closer to 10 inches at each end for the pockets, and that feels just right. After sewing the pockets the scarf measures about 78 inches long. That's long enough to fit my husband comfortably! LOL! But it fits me pretty well, too. The Addi knits a tube of about 7 inches wide in this yarn.

I might add fringe to the ends later, but the scarf looks nice even without fringe or tassels.

Just for interest's sake: Working with a tight tension, I got about 297 rows from one skein of the Red Heart Ombre in True Blue. This project needed 345 grams of the yarn, or about 1 1/4 skeins.


Friday, January 8, 2021

Round Basket for Square Coasters free recipe

I'm still in the middle of a severe flare of lateral epicondylitis that started around Dec. 18 (I guess I did too much crocheting trying to finish off a few Christmas gifts), so my ability to do any crocheting or hand knitting has been very limited until my arms settle down, but I wanted to see if I could get this useful basket crocheted within a reasonable amount of time, so I gave this small project a try. It only took a couple of hours to complete.

This basket is to hold and protect our set of four square Thirstystone coasters, which are about 3.75 inches square, when they aren't in use. You can use these instructions as a jumping-off point to make a basket in just about any size you wish, so this post is more of a "recipe" than an actual pattern.

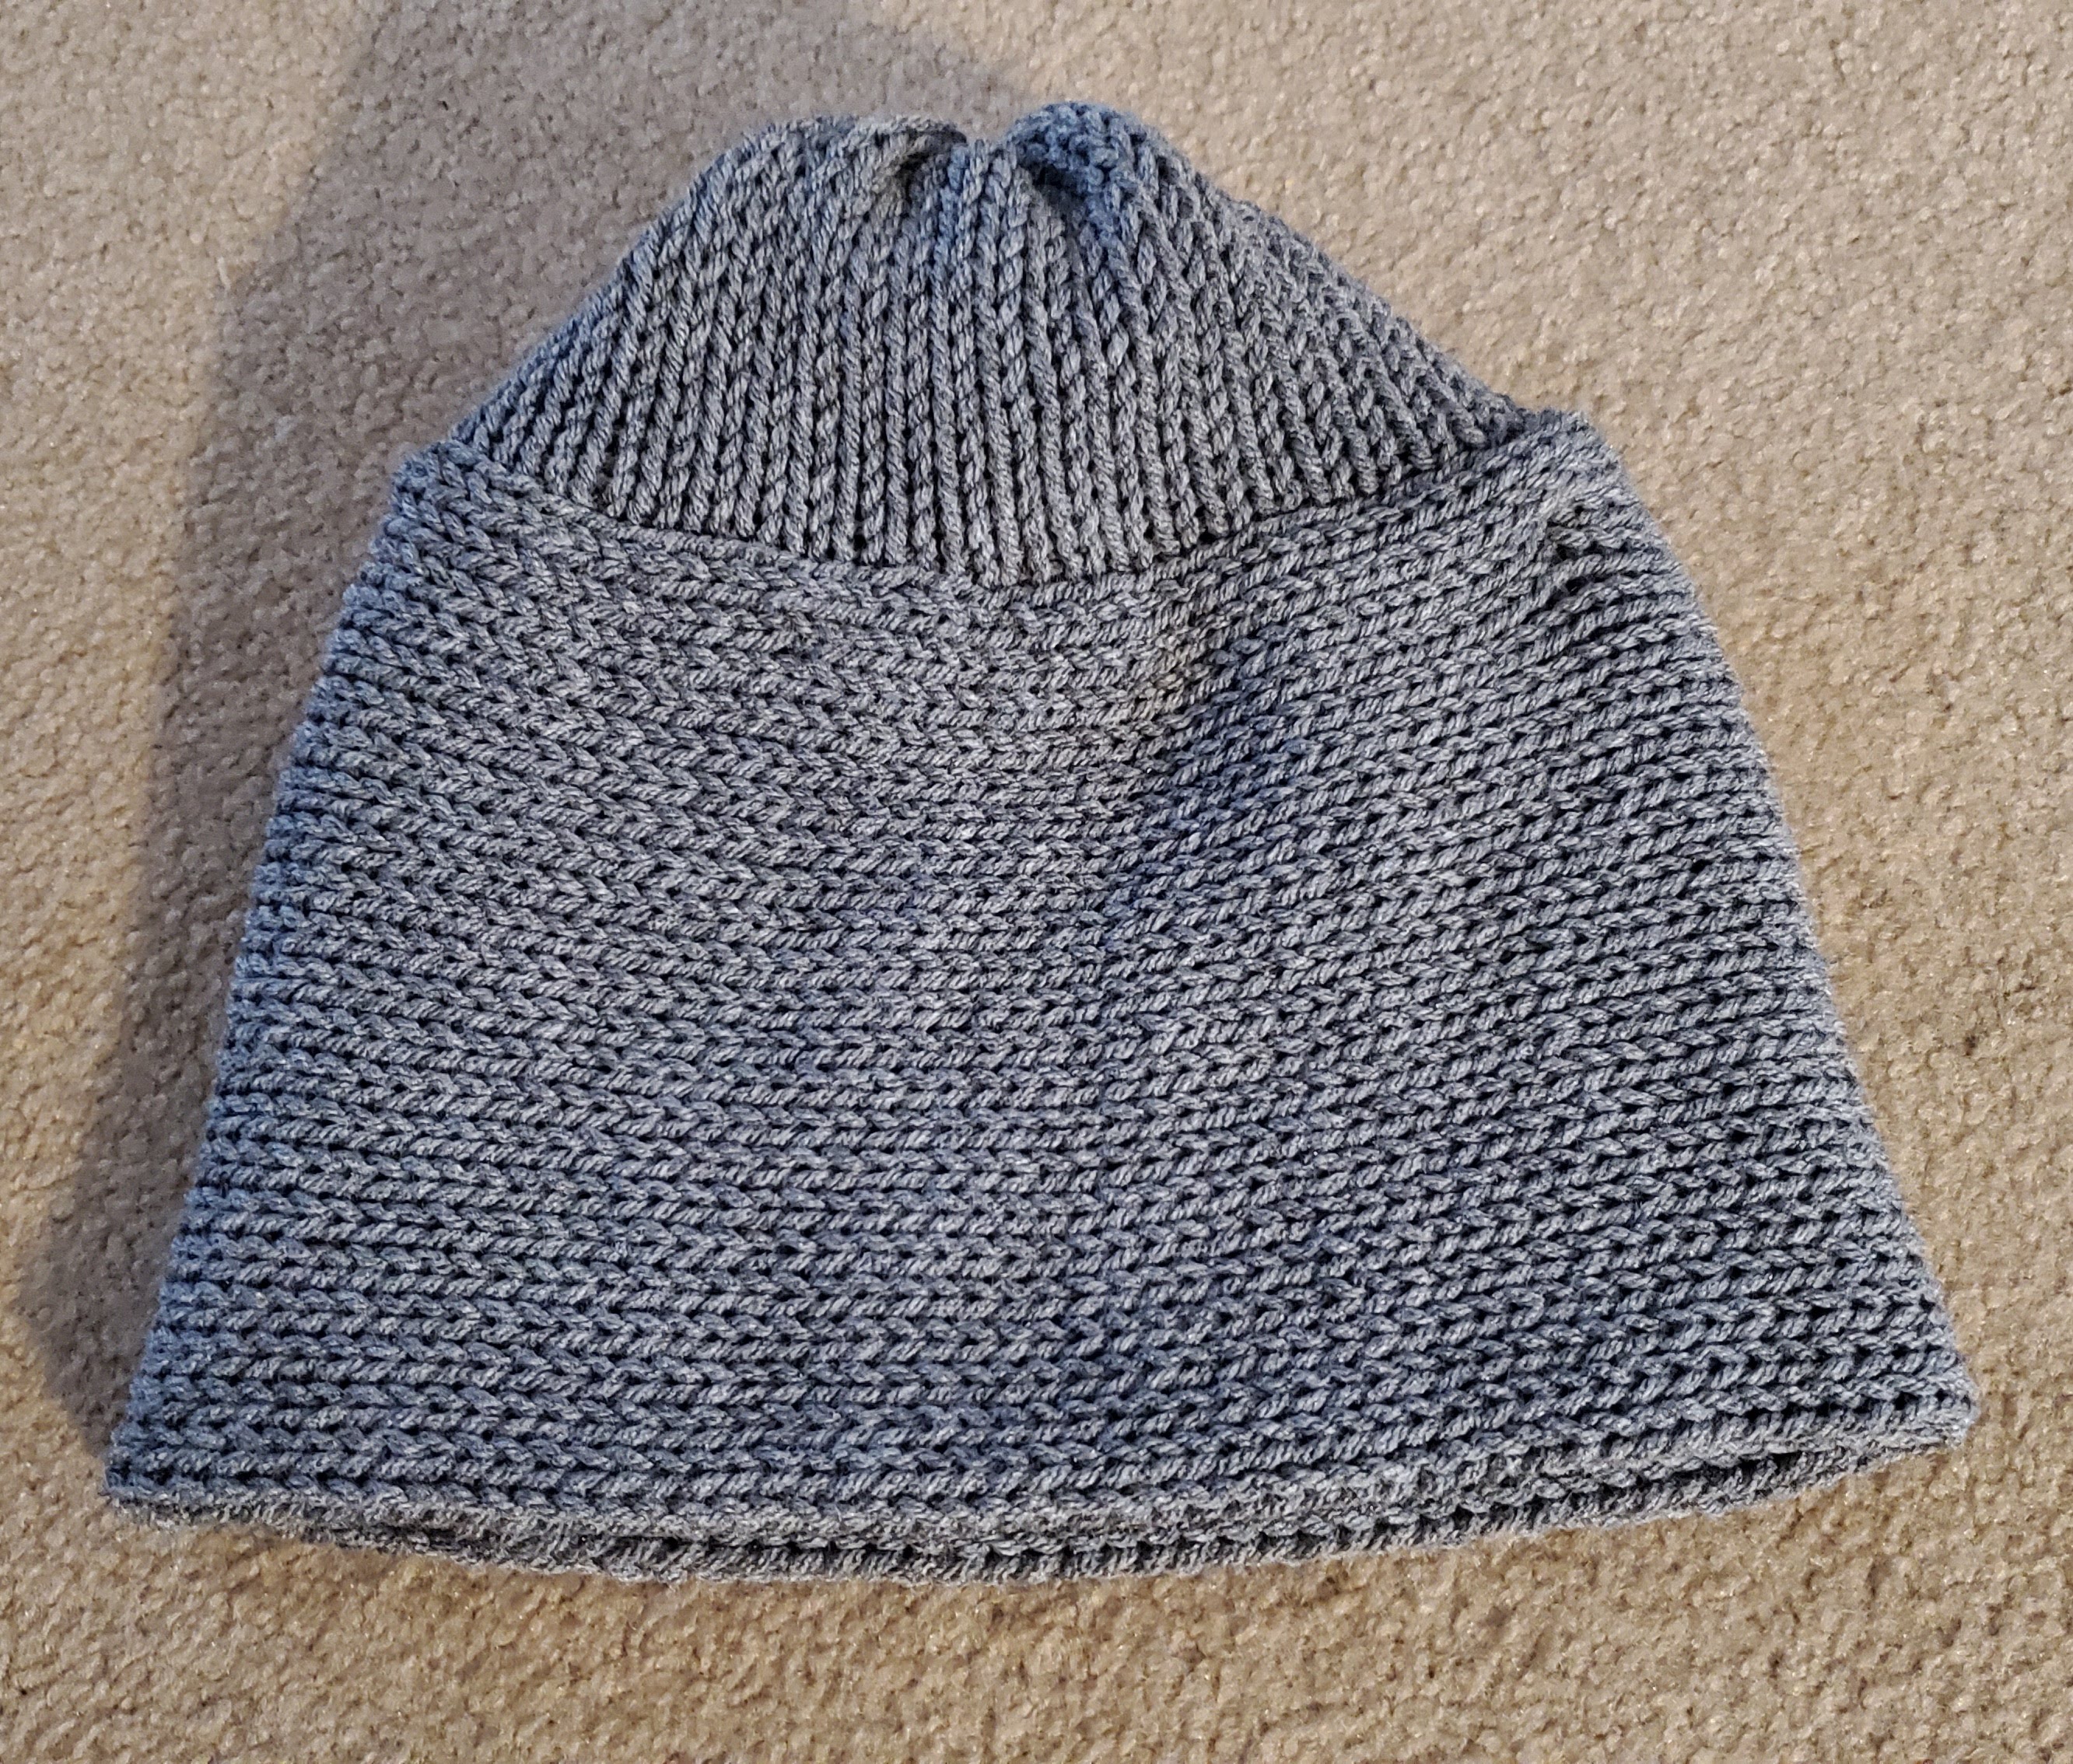
Yarn is held double, using two different colors for a bit of a tweed look. I used Red Heart Super Saver in Grey Heather and Red Heart Super Saver Ombre in True Blue (only small amounts of each yarn are needed, depending on how big you want your finished basket to be) and worked with a 6.5mm hook.

I like how working the two strands of yarn in this tight gauge results in a basket that's firm enough to hold its shape. The feel reminds me of felted work, although it is not felted.

For base of basket: Ch 5; join with sl to 1st ch to form a ring. Working in ring, SC then HDC 9 times (10 sts). This basket is worked in continuous rounds, so do not join at end of rounds. Use a stitch marker to keep track of beginning of rounds and move marker up as you go. 

To start 2nd round, work 2 HDC in 1st st and 2 HDC in each other st around (20 HDC). 

For 3rd round, work 2 HDC in 1st st, 1 HDC in next st, and repeat this way around (30 HDC). 

For 4th round, work 2 HDC in 1st st, 1 HDC in each of next 2 sts, and repeat this way around (40 HDC). 

For 5th round, work 2 HDC in 1st st, 1 HDC in each of next 3 sts, and repeat this way until you are halfway around the circle (for a total of 45 HDC). Sl into the back loop only of the next st; this will become the new beginning point of the rounds.

For sides of basket: For the first round of the basket sides work all sts in back loops only of sts in previous round. As before, work in continuous rounds without joining at the end of rounds. Use a stitch marker to keep track of beginning of rounds and move marker up as you work. Work 1 SC in next st, then 1 HDC in each remaining st around (45 sts). 

Continue on working subsequent continuous rounds of 45 HDC until sides of basket are as tall as you want them. My basket is 8 rounds tall (counting from after the base rounds).

To finish off, SC in next st; sl in each of next 2 sts. Break yarn; work invisible join; and weave in ends. Alternatively you could also work a round of reverse SC (aka crab stitch) to finish the top edge of your basket with a rope-like edging. (My arm was hurting, so I just finished my basket off without adding an edging to the top as soon as it was big enough to fit our coasters.)

Friday, January 1, 2021

My First Addi Kingsize Hat

Happy New Year! This is the very first item I knitted on my new Addi Express King Size machine. I used an old hank of what I'm guessing is some Red Heart yarn in a nice red color that I had in my stash (no label). 


Jojo's video says if you want to make a double-layered adult size hat like this you should knit between 140-150 rows, but my yarn hank ran out at 137 rows. That's probably close enough to make a usable hat since this feels like a Red Heart yarn that's on the heavier side of size 4.


Finished hat is about 15 inches long, with the cuff unrolled. Being able to knit and finish an entire hat in less than an hour is miraculous. I will be able to make so many hats to donate to the needy this way that I wouldn't be able to do otherwise. Love these knitting machines.

Total weight: 114 grams


Saturday, December 19, 2020

Circle Hot Pad pattern - totally giftable

I consider myself a tight crocheter, but I did have to go down two hook sizes to match the designer's gauge on this Circle Hot Pad by Esther Thompson. As she said, gauge isn't very important for this potholder/trivet, but you do want to have a nice firm fabric to protect surfaces or your hands from the heat. This was very quick to make and is so cute and totally giftable. The Hobby Lobby Crafter's Secret Cotton in the Desert Gold colorway looks modern and chic. There is a free version of this pattern on the designer's website.


I added a hanging loop by chaining 10 at the end of the last round, slip stitching the chain to the trivet next to where I started chaining, then turning and working 20 SC's back over the chain. A 1-inch wooden or metal ring sewn to the trivet would also look nice as a hanging loop. 


There was also just enough of the main color (Desert Gold) left to make a coordinating 4-inch-diameter coaster in 6 rounds. I made it double-layered like the trivet, but for the coaster I slip stitched it together with the ivory yarn for a bit of contrast on the colorful side. 

The multicolored balls of this Crafter's Secret cotton are 57 grams, whereas the solid color balls are 71 grams. So, using the solid color as the contrast color for this project, you have enough of the solid color to make two trivets (if you don't use any to make a coaster, the way I did).

I gifted the colorful trivet set to my niece Renee, and I made another set to give to my sister Juanita in the Hobby Lobby Crafter's Secret Cotton in the more neutral-looking colorway called The City.